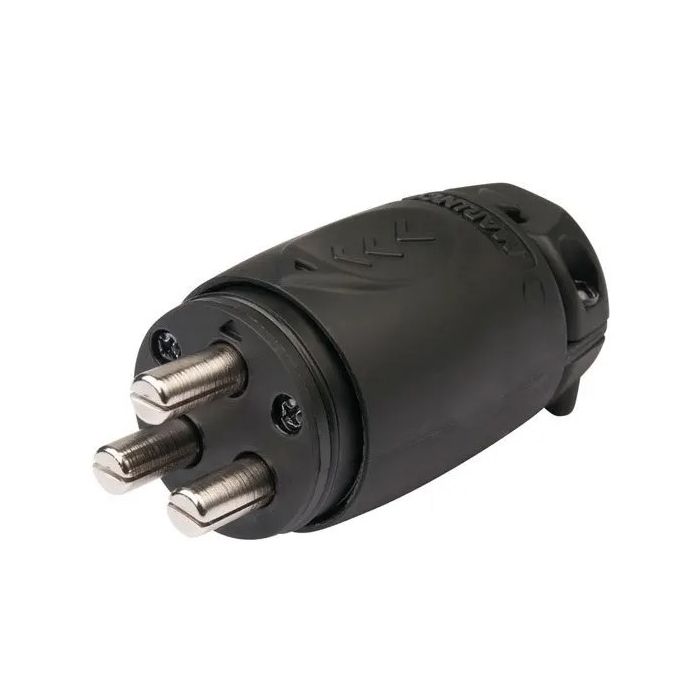
A trolling motor plug lets you disconnect the motor from its batteries at the bow without unbolting anything. Garmin’s Force manuals call for a plug and receptacle rated 60 A or more, mounted where the power cable passes through a bulkhead, with a 60 A breaker between the receptacle and the batteries. The plug is for convenience. The breaker is the protection.
What a trolling motor plug does, and what it doesn’t
A plug and receptacle give you a clean break in the power feed. Unplug and the motor is off the batteries, which is handy for winter storage, for service, or for pulling the trolling motor off the boat.
Garmin treats it as optional. The Force Pro and Force Kraken manuals say you can install a plug and receptacle rated for 60 A or greater in the bulkhead to make it easier to disconnect the motor from the power source.
A trolling motor plug doesn’t protect anything. If a cable shorts, the breaker or fuse is what opens the circuit, so you need one whether or not you fit a plug. Every connection also adds a little resistance. A good plug adds very little. A worn or undersized one turns current into heat.
Trolling motor plug and receptacle choices
For Garmin Force motors we stock Garmin’s own pair. For other motors, the styles further down are what you’ll usually find on boats.
The Garmin 70A trolling motor plug and receptacle
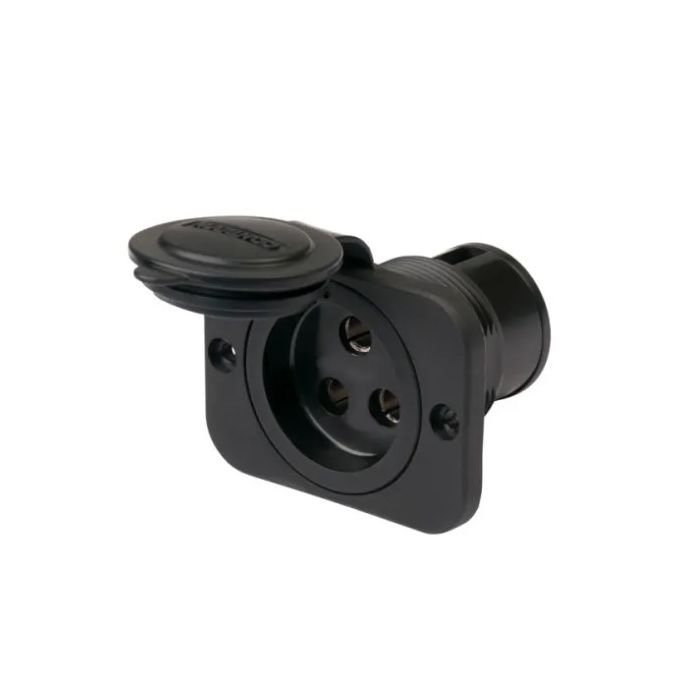
For Force motors we sell Garmin’s own pair: the Garmin 70A Power Plug (part 010-12832-41, $49.99) and the Garmin 70A Power Receptacle (part 010-12832-42, $49.99). Both are rated 70 A, which clears the 60 A minimum in the Force manuals.

The usual practice is to put the receptacle in the boat on the battery side and the plug on the motor’s cable. That way the half that stays live when you unplug is the one mounted in the deck, not the one lying loose.
Check the trolling motor’s cable length before you pick a spot. Garmin lists the Force Pro power cable at 4 ft on the 50 in. model and 3.5 ft on the 57 in. model. The receptacle has to sit within reach of that, or you extend the cable on the motor side.
Other trolling motor plug styles
We only sell the Garmin pair, but you’ll see other styles on boats. Most work the same way: two heavy contacts, a deck receptacle and a cover that closes when nothing is plugged in.
- Two-pole round plugs: a round plug body with two contacts and a matching deck receptacle with a cap. You’ll see this style on many bass boats, and several marine brands make them.
- Keyed plugs: pins of different sizes or a molded key so the plug only goes in one way. This helps keep polarity right.
- Gray two-pole connectors: flat, hermaphroditic connectors (Anderson-style) that some owners use in battery compartments. They come in different current ratings, so check the one you have.
Whatever the style, check four things before you buy. The amp rating should be at or above your breaker. It has to accept your wire size. The contacts should resist corrosion. And the receptacle needs a cover that seals.
Choosing wire gauge for a trolling motor plug circuit
The trolling motor plug is only one link. The wire on either side of it has to be heavy enough for the run, or the motor sees less voltage than the battery is putting out. Start with the motor maker’s table.
Garmin Force wire gauge by extension length
This table is from the Power Cable Extensions section of the Force Pro installation manual. The Force Kraken manual has the same table. Garmin gives a minimum gauge and a preferred one.
| Extension length | Minimum wire gauge | Garmin’s preferred gauge |
|---|---|---|
| Up to 10 ft | 6 AWG | 6 AWG |
| 10 to 20 ft | 6 AWG | 4 AWG |
| 20 to 30 ft | 6 AWG | 2 AWG |
Garmin also sets rules for the wire itself. It has to be single-conductor stranded wire with insulation rated for at least 75°C (167°F), not bundled, sheathed or run through conduit. If the insulation is rated 105°C (221°F) and the run is outside engine spaces, up to three wires can share a sheath or conduit. Garmin says to join extensions with solder and heat-shrink tubing.
Lowrance wire gauge
| Motor (manual) | Supplied power cable | Extension up to 10 ft | Longer extensions |
|---|---|---|---|
| Lowrance Recon | 4 ft, 8 AWG | 8 AWG minimum | 6 AWG minimum |
| Lowrance Ghost (2020 manual) | Not listed in our copy | 8 AWG (5 to 10 ft) | 6 AWG (15 to 25 ft) |
The Recon manual also says jumper wires between batteries should be the same gauge as the power cables and no longer than 12 in. The Ghost figures come from the Ghost installation manual (document 988-12451-005), so check the copy that came with your motor.
How the general marine wire tables compare
General marine wire tables, built on ABYC practice, size wire by current, length and allowed voltage drop. West Marine’s wire size guide uses a 3% drop for critical circuits and 10% for less critical ones. Its length is the full round trip, so a motor 15 ft from the battery is a 30 ft circuit.
On its 3% table for 12V, 60 A calls for 4 AWG at 15 to 20 ft round trip and 2 AWG at 25 to 30 ft. West Marine says those tables are for 12V only, and that on 24V you can use the 10% table where you’d otherwise use the 3% one. Treat the motor maker’s table as the floor, and go a size heavier on a long run.
Why higher voltage is easier on the wire
At the same current and length, a wire loses the same number of volts whatever the system voltage. Losing 1 volt is about 8% of a 12V supply, about 4% of 24V and under 3% of 36V. That’s the logic behind West Marine’s note that 24V circuits can use its 10% table, and it’s why a 24V or 36V trolling motor can live with wire that would be marginal on 12V.
Crimping, soldering and heat-shrink
A lot of plug trouble starts at the wire, not the plug. A lug that’s crimped badly or sized wrong for the wire will loosen and heat up over a season of pounding.
- Match the lug to the wire: a 6 AWG lug on 6 AWG wire, with a hole that fits the stud it bolts to.
- Use a proper crimper: a ratcheting or hydraulic crimper made for heavy lugs gives a consistent crimp. Pliers don’t.
- Solder where Garmin says to: the Force manuals say to join extension wires with solder and heat-shrink tubing.
- Seal every joint: adhesive-lined heat-shrink over each lug and splice keeps water out of the strands.
- Use tinned wire on salt boats: tinned copper strands hold up to corrosion better than bare copper.
Give every connection a firm tug after you make it. If the wire moves in the lug, cut it off and do it again.
Routing the cable to the trolling motor plug
A good plug on a badly routed cable can still fail. The run from the batteries to the bow passes through compartments and under hatches, and it has to survive years of vibration.
- Keep the pair together: run positive and negative side by side along the same route. Follow Garmin’s rules on bundling and sheathing for the insulation rating you’re using.
- Protect pass-throughs: use a grommet or cable gland wherever wire goes through a bulkhead or deck, so it can’t chafe on a cut edge.
- Clamp it: secure the cable with cushioned clamps so it can’t flop around or rub as the boat runs.
- Stay clear of trouble: keep it out of standing bilge water and away from fuel lines and anything that moves, such as steering cables.
- Leave slack at the bow: the motor’s own cable flexes every time you stow and deploy, so don’t pull it tight at the receptacle.
Garmin’s Force Pro manual has its own section on routing the power and transducer cables through the mount. Do that part by the manual before you fit the trolling motor plug, so the cable length at the bow is set.
Where the trolling motor breaker goes
The order on the positive side is battery, then breaker, then the extension wire, then the receptacle, plug and motor. The negative runs straight back to the battery negative. The breaker belongs close to the battery so it protects the whole length of wire.
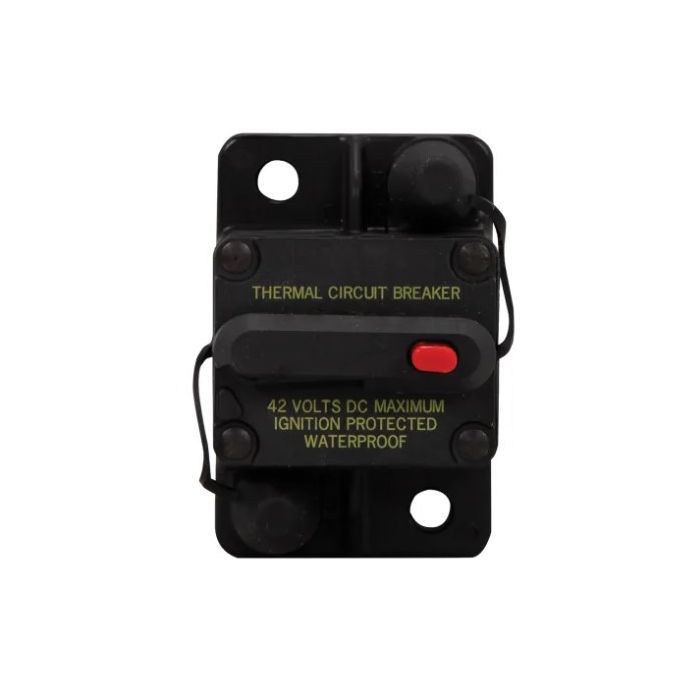
- Garmin Force Pro and Force Kraken: a breaker rated 60 A continuous and 42 VDC or greater. Garmin allows a larger breaker, up to 90 A, in high heat or on a shared circuit, but only after you’ve checked that the boat’s wiring meets marine standards for it.
- Lowrance Recon: a 60 A manual-reset breaker in the positive cable, no more than 6 ft from the batteries.
- Lowrance Ghost: the 2020 manual lists 50 A at 24V or 36V.
- ABYC practice: as Blue Sea Systems summarizes it, overcurrent protection goes within 7 in. of the battery connection. That stretches to 40 in. if the wire is in a sheath or enclosure, and 72 in. if it connects straight to the battery terminal and is sheathed.
For Force motors we sell the Garmin 60A Circuit Breaker (part 010-12832-40, $89.99). Garmin’s manuals warn that the breaker must be off before you connect the trolling motor’s power cable to it.
How to install a trolling motor plug, step by step
This is the general order. Follow the instructions that come with your plug and the wiring section of your motor manual where they differ.
- Kill the power: turn the breaker off and disconnect the battery bank, negative first.
- Pick the spot: Garmin puts the receptacle where the power cable passes through a bulkhead. Make sure the trolling motor’s cable reaches it with the motor stowed and deployed.
- Measure the run: measure from the receptacle to the batteries along the route the wire will take, then pick a gauge from the tables above.
- Mount the receptacle: cut the opening with the template and hardware supplied, and seal it as the instructions say.
- Run the wire: route both conductors to the battery area, support them along the way and protect them from chafe where they pass through bulkheads.
- Wire the receptacle: positive to the positive terminal and negative to the negative. Tighten to the plug maker’s spec.
- Fit the plug: cut the motor’s cable to length, strip it and attach the plug, matching polarity to the receptacle.
- Install the breaker: mount it close to the battery and connect it into the positive wire. Leave it off.
- Test before use: reconnect the bank, turn the breaker on, check polarity at the receptacle with a meter, then plug in and run the motor.
After your first hard run, feel the plug and every lug. Warm is normal under load. Too hot to hold means a loose or undersized connection.
Getting polarity right
Red is positive and black is negative. That’s how the Lowrance Ghost manual labels the supply leads, and it’s the convention Minn Kota uses too. Check the plus and minus marks on the plug and receptacle, and keep the positive contact on the positive wire at both halves.
On a series bank, positive and negative come from different batteries. On 24V, the motor’s positive goes to battery 2 positive and its negative to battery 1 negative. If you’re still working out how to wire a 24 volt trolling motor from scratch, the battery side is covered in our 24 volt trolling motor guide.
Check polarity with a meter before you plug the trolling motor in. Put the red probe on the receptacle’s positive contact and the black on the negative. You should read close to your bank voltage with no minus sign. A minus sign means the wires are reversed.
Troubleshooting trolling motor plug problems
Heat at the plug
Heat comes from resistance. A loose terminal, a contact that’s worn or dirty, wire that’s too small for the run or a plug rated below the load will all do it. Check the terminals first, then the wire gauge against the manual.
Burnt or discolored pins
Dark or pitted contacts mean the connection has been arcing or running hot. Replace both halves, not just the one that looks worse, because a damaged contact can ruin the one it mates with. Then find out why it happened before you plug a new one in.
Corrosion
Green or white crust on the contacts or lugs adds resistance. Salt water speeds it up. Clean light corrosion, replace anything that’s eaten into the metal, and keep the receptacle cover closed when the motor isn’t plugged in.
Loose lugs and weak runs
If the trolling motor feels weak or cuts out under load, measure voltage at the battery and at the receptacle while the motor runs on a high setting. A big difference between the two readings means resistance in between, usually a loose lug, a bad crimp or a tired plug. Minn Kota’s battery guide also says to keep post connections tight.
Breaker trips
A breaker that trips is doing its job. Likely causes are a prop fouled with weeds or line, a long hard run on a hot day, chafed insulation shorting somewhere, or a tired breaker. Clear the prop first, then check the wiring and connections. Garmin allows a larger breaker for heat or a shared circuit only after the wiring has been checked against marine standards.
Which trolling motor plug setup we’d pick
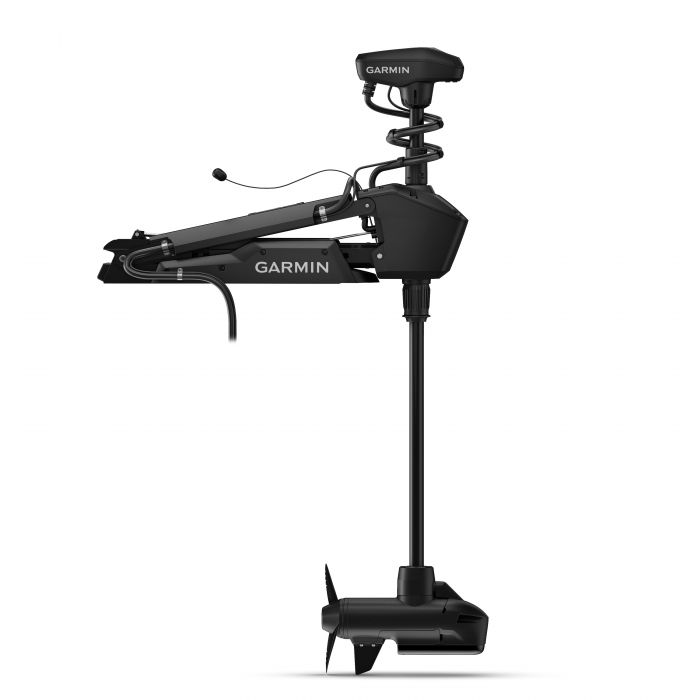
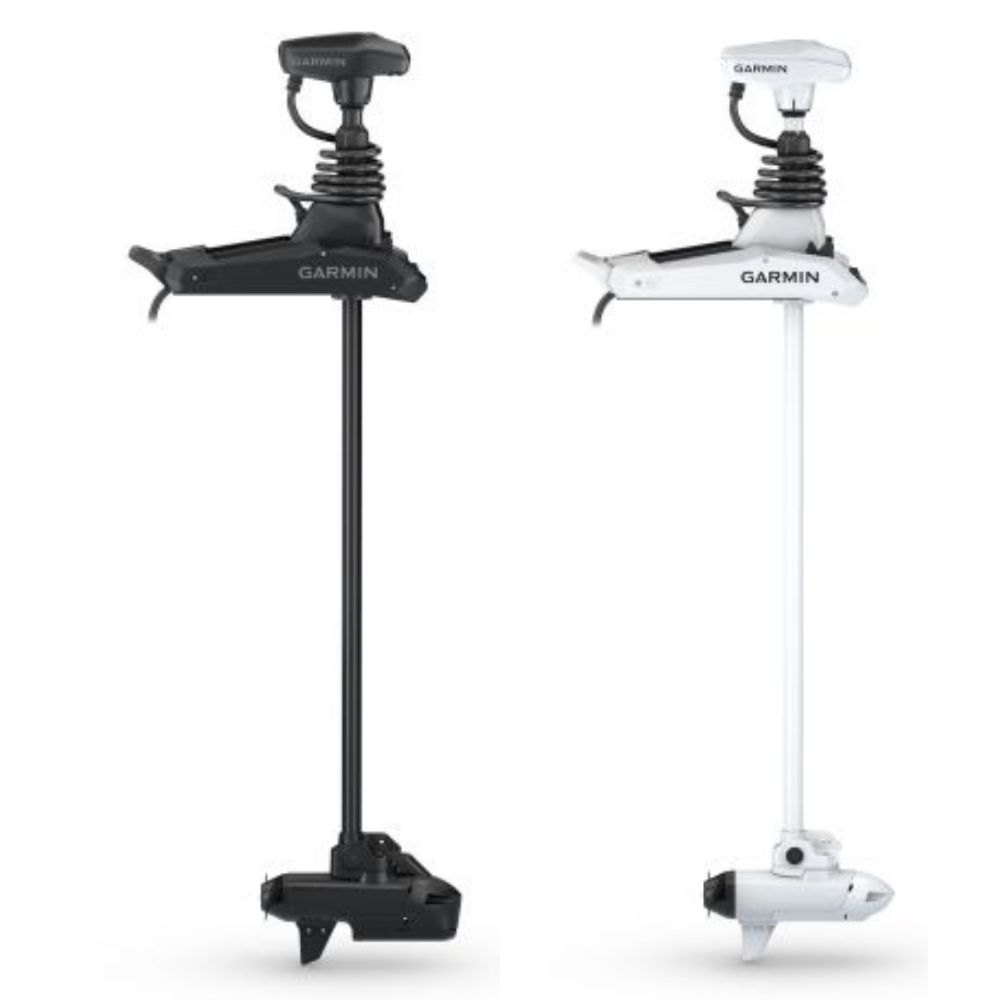
- Garmin Force Pro or Force Kraken: the Garmin 70A Power Plug and Receptacle plus the Garmin 60A Circuit Breaker. That’s $189.97 for the three, and it matches what the Force manuals ask for. Size the wire from Garmin’s table.
- Lowrance Ghost or Recon: a plug and receptacle rated at or above the breaker your manual calls for, and the breaker itself. Email us if you’d like a second opinion on the parts you’ve found.
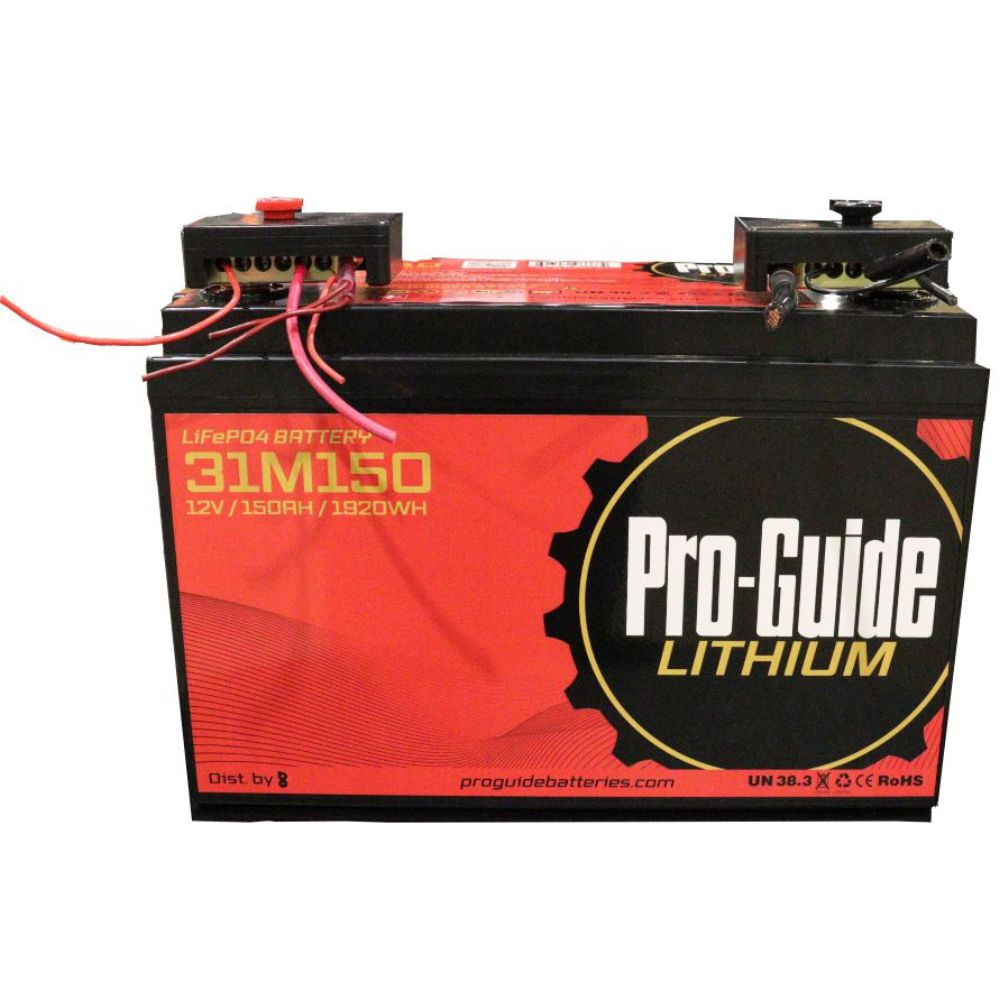
- Battery end: if the lugs or terminals are tired, replace them while you’re in there. We sell a Battery Terminal Set ($99.99).
All of these are on our trolling motor accessories page, along with props, nose cones and remotes. If you’re also sizing the batteries behind the plug, see our trolling motor battery guide.
Gear in this guide
Questions about trolling motor plugs
Does a trolling motor plug replace the circuit breaker?
No. The plug is a disconnect. The breaker or fuse protects the wire if something shorts. Garmin, Lowrance and Minn Kota all call for overcurrent protection on the power feed.
What amp rating should a trolling motor plug have?
At or above your breaker. Garmin asks for a plug and receptacle rated 60 A or greater for the Force motors, and the Garmin pair we sell is rated 70 A.
Why is my trolling motor plug getting hot?
Usually a loose terminal, a worn or corroded contact, or wire that’s too small for the run. Check and tighten the connections, then compare your wire gauge with the motor manual’s table.
What gauge wire do I need for a trolling motor plug extension?
For Garmin Force motors, 6 AWG minimum up to 30 ft, with 4 AWG preferred from 10 to 20 ft and 2 AWG from 20 to 30 ft. For the Lowrance Recon, 8 AWG up to 10 ft and 6 AWG beyond that.
Can I use the Garmin plug on a Lowrance trolling motor?
Garmin makes its 70A pair for the Force motors, and that’s what we sell it for. If you’re thinking of using it on another trolling motor, check its rating and the wire it takes against that motor’s manual, and email us first.
Do I need a trolling motor plug at all?
No. Garmin lists it as optional. You can wire the motor straight to the breaker, but a plug makes it far easier to disconnect for storage or service.
Send us your wiring questions
Email sales@trollingmotorsdirect.org (Monday to Friday, 9am to 6pm) with your boat, your motor and how far the batteries are from the bow, and we’ll help you work out the parts.